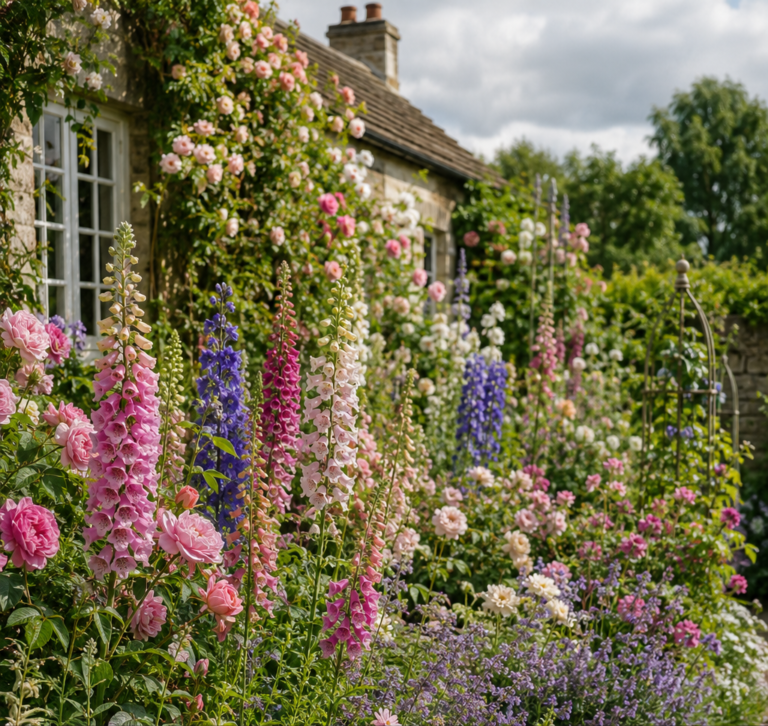
How to Create a Cottage Garden on a Budget
I sometimes use affiliate links in content. This doesn’t cost you anything but I may make a commission payment from anything you buy through these links. As an Amazon Associate I earn from qualifying purchases. All opinions remain my own.
Most cottage garden advice starts at the till. Buy the lupins, buy the delphiniums, buy a trolley full of two-litre pots and hope the border fills in by June. It is a lovely look, and it is also one of the most expensive ways to get there.
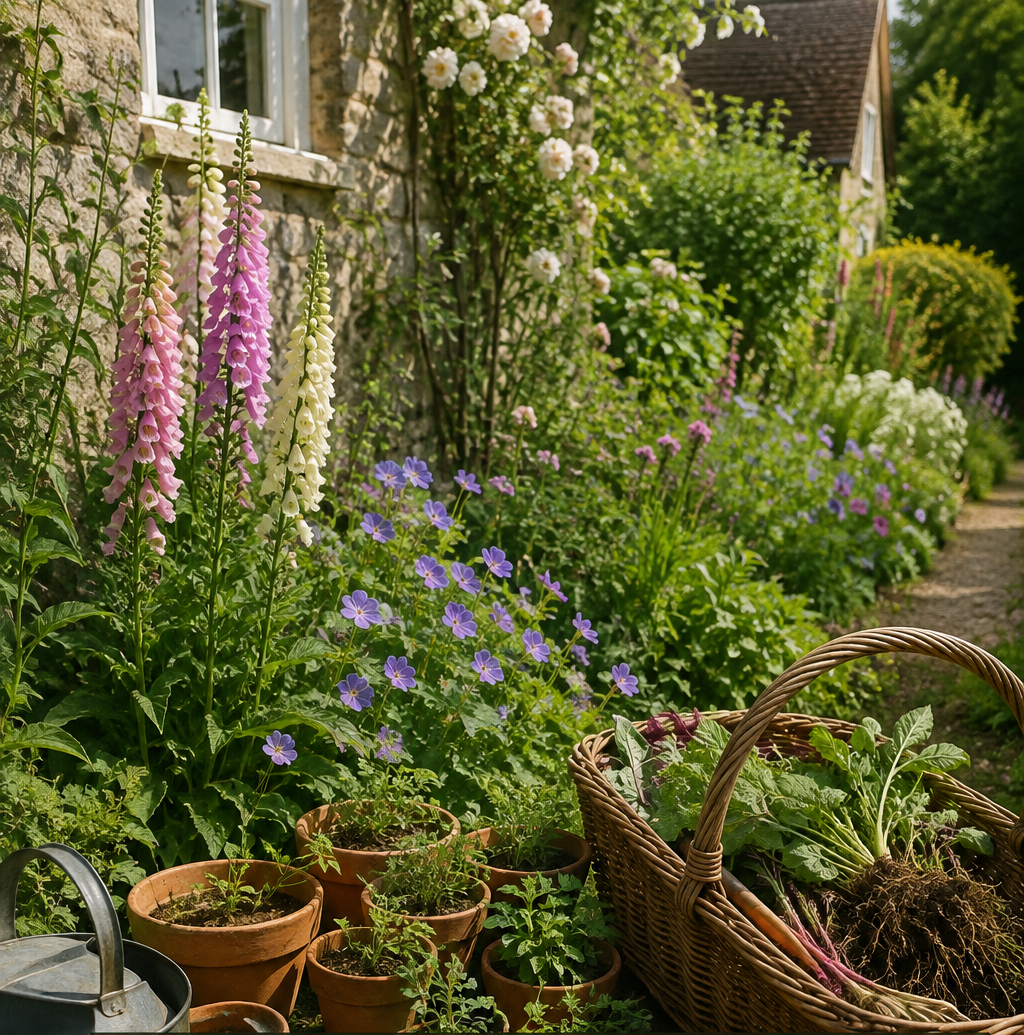
A proper cottage garden was never really a shopping list in the first place. It grew out of cottagers swapping cuttings over the fence, letting seed fall where it liked, and dividing an overgrown clump into three when it outgrew its space. That habit still works, and it is the more authentic route into the classic cottage garden look than any amount of nursery spending. Here is how to build one almost entirely through seed, division and exchange, with a realistic idea of what it costs and how long it takes.
🌱 Start From Seed Where You Can
Seed is, plant for plant, the cheapest way into a cottage border by a wide margin. A packet of hollyhock, foxglove, cornflower or love-in-a-mist seed typically costs two to three pounds and will fill several metres of border, against eight to twelve pounds for a single two-litre potted plant doing the same job.
The maths gets even more striking with plug plants. A tray of thirty perennial plugs often costs around the same as one or two full-sized pots, and once they are hardened off and planted out, they catch up to potted stock within a single growing season.
Forged & Grown
Garden pieces, printed to order
3D printed planters and garden accessories, made in the UK. Self-watering designs, sculptural shapes, colour options — each one made when you order it.


The trade-off is time and a bit of technique. Hardy annuals like cornflowers, calendula and larkspur can be sown direct where they are to flower, but half-hardy types and most perennials need raising undercover first and hardening off gradually before they go outside. Skip that step in a UK spring and a cold snap can undo weeks of work.
Sow hardy annuals from March, and half-hardy types from April under cover, moving everything outside once the risk of frost has passed for your region. Southern gardens can usually plant out by mid-May, while northern and Scottish gardens are often safer waiting until early June.
✂️ Dividing Perennials Is a Free-Plant Multiplier
If you already have an established perennial, or a friend does, division is the fastest way to turn one plant into three or four for nothing. Most perennials benefit from being divided every two to three years anyway, so this is maintenance and propagation in the same job.
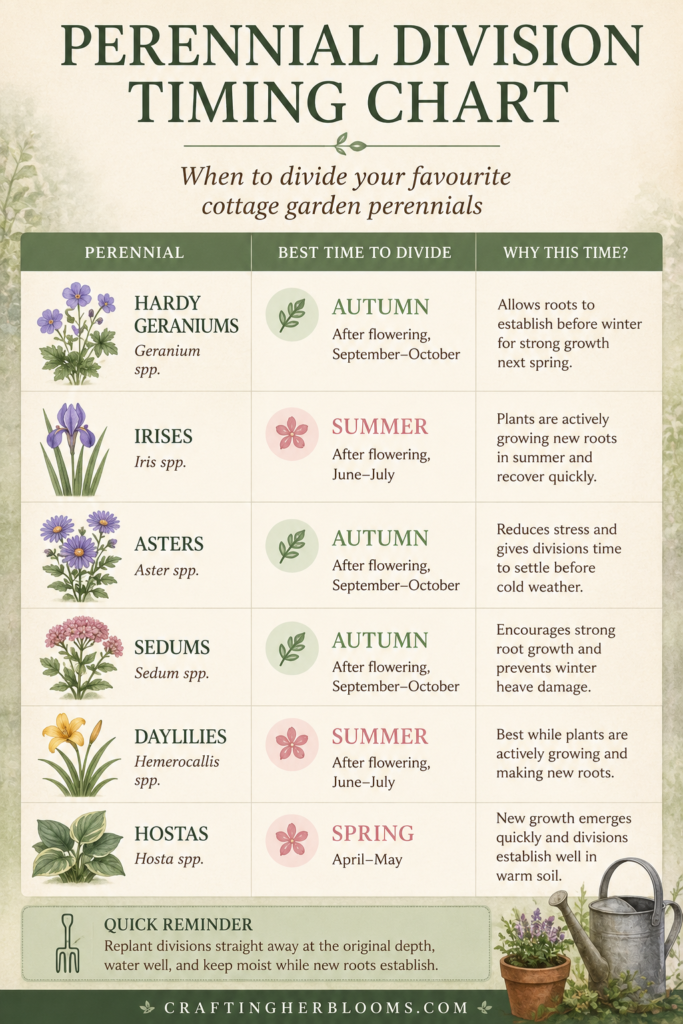
Timing depends on the plant. Spring and summer flowerers such as hardy geraniums, asters and sedums divide well in autumn once they have finished, while spring-flowering plants like irises are best split in summer after flowering, when they are actively making new roots.
To divide a clump, lift it with a garden fork, working outwards from the centre to avoid damaging the roots. Small, fibrous-rooted plants such as heuchera and hosta can usually be pulled apart by hand, while tougher clumps like daylilies need two forks inserted back to back and levered apart. A reliable pair of secateurs makes tidying the divided sections far easier than trying to do it with a kitchen knife.
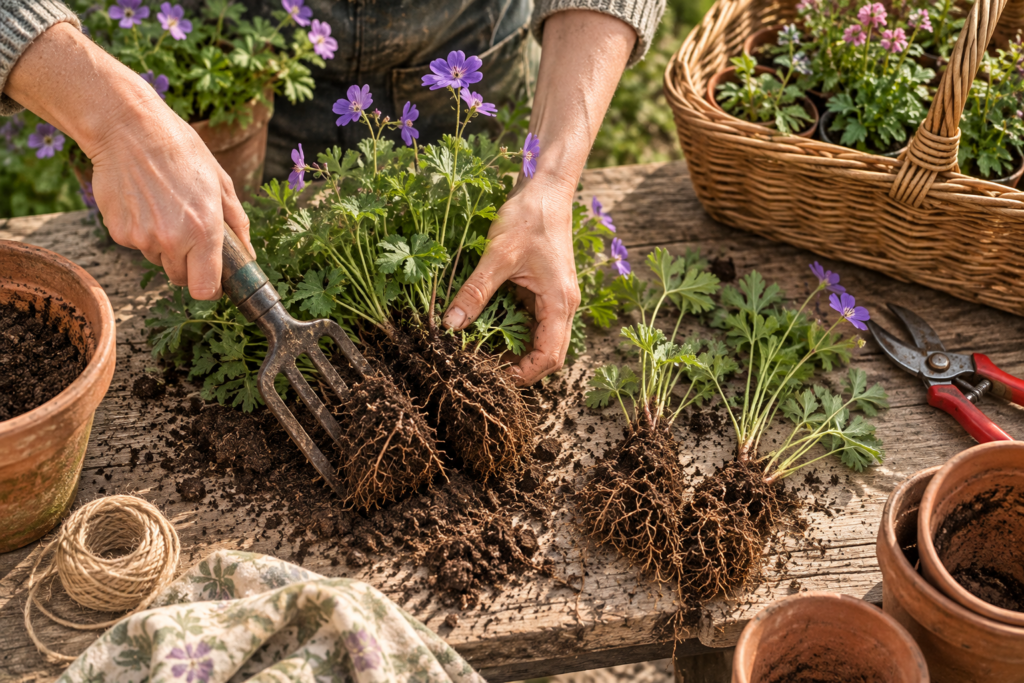
Replant the divisions straightaway at their original depth, work in a little compost or well-rotted manure, and water them in well. Keep an eye on them for the first few weeks so they do not dry out while new roots establish. This is also the logic behind the Chelsea Chop, a single well-timed cut that keeps perennials bushier and more productive rather than leggy.
🌼 Reliable Self-Seeders for the Cottage Look
Some of the most recognisable cottage garden plants are also the ones that seed themselves generously, given half a chance. Once you have a handful of these established, they will keep producing new plants every year without any further spending.
Foxgloves are biennial and famously prolific self-seeders, dropping seed in their second year that will flower the year after. Common poppies and calendula behave the same way as hardy annuals, popping up in slightly different spots each summer. Borage self-seeds into generous clumps and is loved by pollinators, while forget-me-nots put on an effortless early display with almost no encouragement.
Hardy geraniums, sometimes sold as meadow cranesbill, are near-compulsory in a UK cottage border and will self-seed steadily once settled. For a fuller list of the plants that build this look reliably in British conditions, the twenty classic cottage garden plants for year-round colour guide is worth working through border by border.
The only real management self-seeders need is restraint. Thin out seedlings you do not want in late spring, and let the rest fill gaps naturally rather than mulching them into oblivion.
🤝 Find Your Local Plant Swap
Plant swaps are one of the more underused resources for building a border cheaply, and the UK network for them is bigger than most people realise. Garden Organic runs seed swap events across the country through the year, and community groups like PlantSwap UK organise regular local meet-ups where gardeners bring spare divisions, seedlings and cuttings to exchange.
Facebook is, in practice, the easiest way into this. Searching your town or county alongside “plant swap” or “seed swap” usually turns up an active local group, and many allotment sites and community gardens run informal swap tables or noticeboards even without a Facebook presence. Turning up with a few of your own spare seedlings or divisions, rather than empty-handed, tends to get a warmer welcome.
This is also where an allotment plot earns its keep beyond growing food. Allotment sites are some of the most reliable places to find gardeners giving away surplus divisions at the end of a busy autumn tidy-up.
Free-plant finder
Which free-plant method suits you?
Four quick questions to find out whether you should start from seed, divide what you’ve got, find a local swap, or head to a village plant sale.
🏡 Village and Charity Plant Sales
Village fetes, church fundraisers and open-garden days are a genuinely good source of established, locally-grown plants at low prices, usually because the sellers are volunteers or gardeners clearing their own surplus rather than a business trying to make a margin.
The National Garden Scheme is the largest organised version of this. Its member gardens open to the public through the year, many with a plant stall alongside, and buying a plant there tends to cost a fraction of nursery prices while directly supporting nursing and health charities. Local NGS opening dates are published on their website and are worth checking for gardens near you each season.
Smaller village and church plant sales rarely advertise much beyond a parish noticeboard or local Facebook group, so it is worth asking neighbours or checking your village hall noticeboard directly. Go early in the day for the best choice, and take a box or tray rather than relying on carrier bags for the walk home.
📋 A Realistic Budget and Timeline
Building a cottage border this way is not instant, and it helps to know that going in rather than being disappointed by a bare-looking bed in April.
A full border replant using bought perennials, shrubs and ground cover typically runs to fifty to one hundred and fifty pounds or more, even before hard landscaping. Building the same border from seed, division and swaps can realistically cost under twenty pounds across a season, mostly on compost and the odd packet of seed, with the gaps filled by patience rather than a bigger budget.
Year one is the thinnest. Expect a border that looks more like a nursery bed than a finished cottage garden, with small plug plants, seedlings and fresh divisions settling in rather than filling space. By year two, most divisions have bulked up and self-seeders have had a full cycle to establish, so gaps close noticeably. Year three is usually when a swapped-and-grown border starts to look genuinely established, often indistinguishable from one built with a much larger budget.
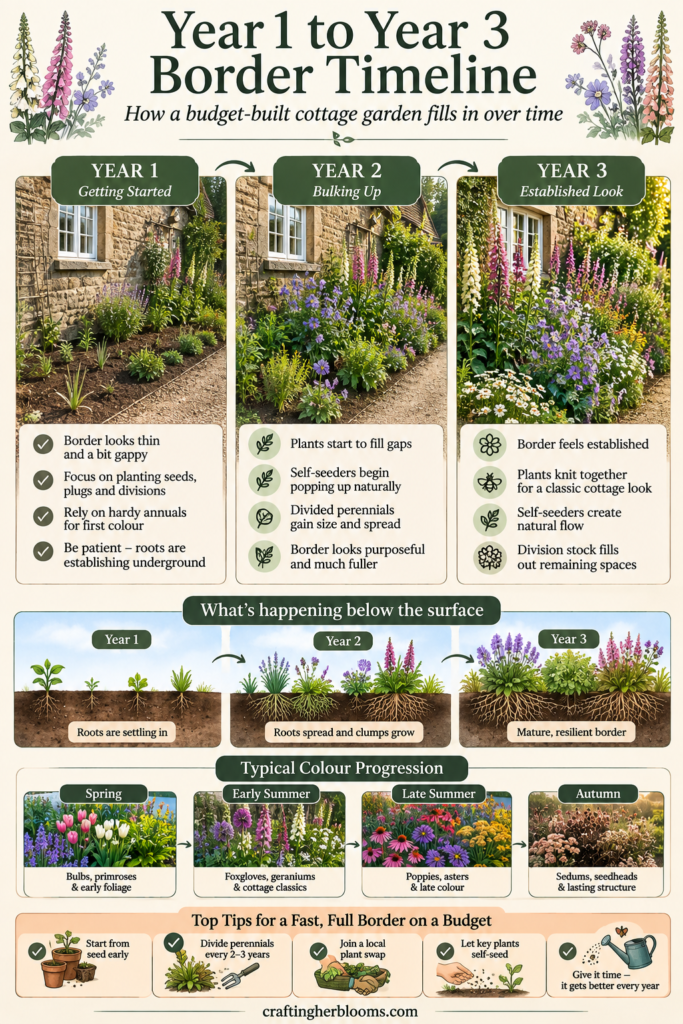
Improving the soil for free while you wait costs nothing but time. No-dig methods built around cardboard and garden compost cost little beyond what most households already have, and repurposed containers from an upcycled planter project can hold cuttings and divisions while permanent spots are decided.
The Point Is the Patience
A cottage garden built this way asks for time rather than money, and that trade tends to suit the style anyway. Borders that grow through seed, division and swapped cuttings develop the slightly loose, generous look that a full trolley of matching nursery stock rarely manages on its own.
Start with what you can grow from seed this season, ask around at your allotment or local swap group, and keep an eye out for the next village plant sale. The border fills in either way. This route just gets you there without the receipt.
Continue Your Journey
- Summer Cottage Garden Plants: Classic Blooms for June to August
- Starting a Cut Flower Garden: From Planning to First Harvest
- Raised Bed Gardening UK: How to Build, Fill and Grow More Than You Ever Thought Possible
- Eco-Friendly Garden Ideas for UK Gardens: How to Garden Sustainably in 2026
- Purposeful Planting: How to Design a UK Border That Hums With Life