
Upcycled Garden Projects: How to Turn Pallets, Tins, and Old Furniture into Planters, Potting Benches, and Garden Bars

I sometimes use affiliate links in content. This doesn’t cost you anything but I may make a commission payment from anything you buy through these links. As an Amazon Associate I earn from qualifying purchases. All opinions remain my own.
There is something quietly rebellious about a garden that refuses to spend a fortune looking beautiful. The most characterful outdoor spaces in Britain — the ones that stop you in your tracks on an open garden day or catch your eye on a cottage lane — rarely got that way through matching furniture sets and brand-new planters. They got there through ingenuity, a little paint, and the happy discovery that a battered old pallet has more potential than it has any right to.
Upcycled garden projects are having a well-deserved moment, and not just because the cost of living has made us all think harder about what we throw away. There is a genuine aesthetic appeal to a garden where nothing quite matches but everything has a story — where a sideboard rescued from a skip becomes the neighbourhood’s most photographed garden bar, or where a cluster of painted tin cans bristling with herbs by the back door is somehow more charming than anything from a garden centre catalogue.
This guide covers the full spectrum: quick beginner projects you can complete on a Saturday morning, weekend builds that will genuinely transform a space, and the practical knowledge you need to make everything last through a British winter. We are working with three hero materials — pallets, tin cans, and old furniture — and building three types of functional features: planters, potting benches, and garden bars.
Before You Begin: Safety, Prep, and Sourcing in the UK
The success of any upcycled garden project begins long before you pick up a paintbrush, and there are a few things worth getting right from the outset — particularly when it comes to pallets, which carry some important safety considerations.
Forged & Grown
Garden pieces, printed to order
3D printed planters and garden accessories, made in the UK. Self-watering designs, sculptural shapes, colour options — each one made when you order it.


Checking Pallets Before You Use Them
Not all pallets are created equal, and in a UK garden that will be touched by children, pets, or food-growing plants, it genuinely matters what treatment the wood has been through. Look for the IPPC stamp on the side of any pallet you intend to use. Here is what the codes mean:
- HT (heat treated) — safe to use
- DB (debarked) — safe to use
- MB (methyl bromide) — avoid; a pesticide treatment banned for most uses in the UK and EU, but it can still appear on older or imported pallets
- No stamp visible — set the pallet aside; unknown treatment history
Beyond the stamp, give the wood a thorough inspection for splinters, protruding nails, and any staining that might indicate chemical exposure. A good sand-down with 80-grit paper followed by 120-grit is essential before any pallet comes into contact with family life.
Where to Source Your Materials
The UK has a genuinely excellent free-cycle culture that makes gathering materials for these projects surprisingly easy. Here is where to look before spending a penny:
- Facebook Marketplace and Freecycle — the best sources for pallets, old furniture, and garden bits; search locally and set up alerts
- Local businesses — builders’ merchants, garden centres, and supermarkets often give pallets away free if you ask politely at the goods entrance
- Charity shops and car boot sales — the traditional hunting ground for solid-wood furniture at low prices
- Council bulky waste collection alerts — perfectly usable pieces regularly appear on collection days; many councils post schedules online
Weatherproofing: The Detail That Makes or Breaks a Project
The British climate is unforgiving to untreated wood and unprotected metal, and the single most common reason a beautiful upcycled project fails by spring is insufficient weatherproofing. The rules are simple but non-negotiable:
- Wood: Use exterior-grade paint or wood stain — not the indoor variety, however tempting it is to use up a tin sitting in the garage. Apply two coats minimum, paying particular attention to end grain where water is most likely to enter.
- Metal tins: Always prime before your topcoat. A spray or brush-on metal primer makes the difference between a planter that looks lovely in year three and one that has rusted through by October.
- Joints and fixings: Use exterior-grade screws throughout; standard screws will rust and stain the wood within a season.
- Bottom edges: These take the most punishment from ground moisture — seal thoroughly and consider raising pieces slightly off the ground on small feet or bricks.
Pallet Projects: From Planter Boxes to Potting Benches
Pallets are the great workhorse of the upcycled garden. They are sturdy, free or nearly free, and available in dimensions that translate remarkably well into garden structures. The key is knowing which projects suit their natural form and which require a little more carpentry.
The Classic Raised Herb Planter Box
This is the ideal first pallet project — genuinely achievable in a couple of hours with basic tools, and useful enough to earn its place in any garden. The approach is to dismantle one or two pallets and rebuild the boards into a simple rectangular box. You need a saw, a drill, screws, and patience with the disassembly — pallet boards can be stubborn to remove without splitting, so a pry bar rather than brute force is your friend here.
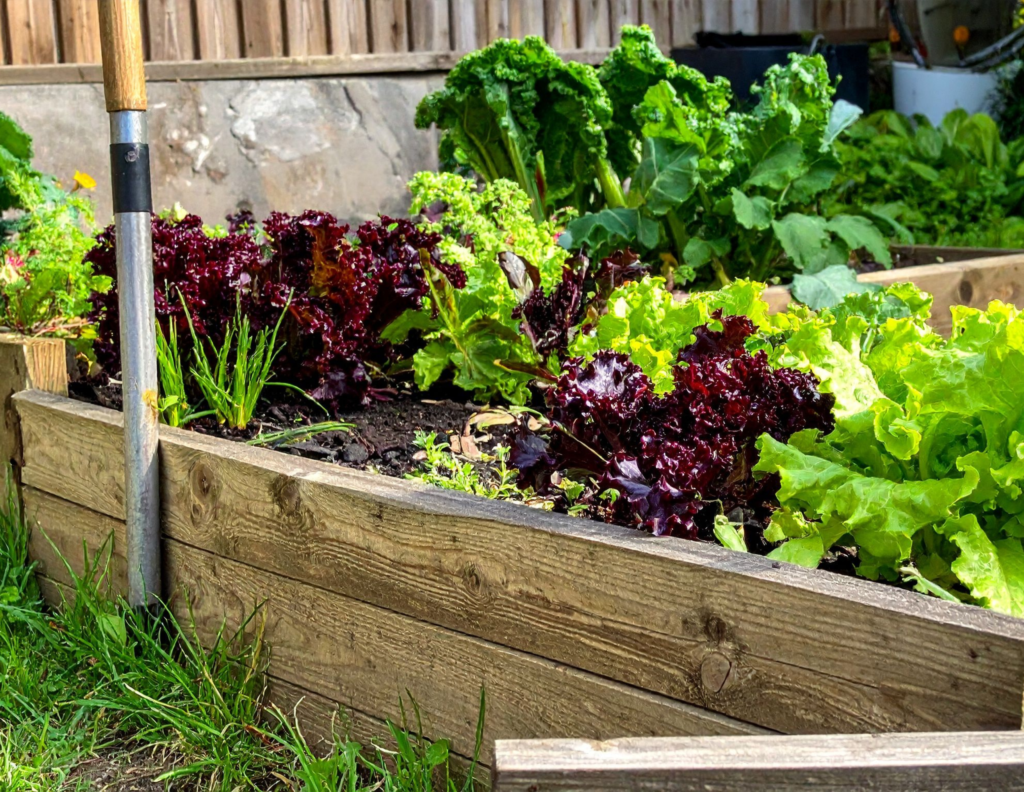
Once your box is built, line the interior with heavy-duty polythene or old compost sacks before filling. This serves two purposes: it keeps compost from washing straight through the gaps, and it extends the life of the wood by reducing direct contact with damp soil. Add drainage holes in the base before lining — a dozen or so 10mm holes across the bottom — then add a layer of gravel or broken crocks before your compost.
The planting possibilities are where this project becomes genuinely exciting. A dedicated herb box near the back door — mint, parsley, chives, and thyme within arm’s reach of the kitchen — is one of the most practical things you can add to a UK garden. If you are growing your herbs in containers for the first time, the guide to growing outdoor garden herbs has everything you need on spacing, soil, and seasonal care. For a more decorative effect, three boxes at different heights planted with cosmos, dahlias, and trailing lobelia create a cutting-patch corner that looks stunning from July onwards.
The Vertical Pallet Planter and Privacy Screen
Standing a pallet upright transforms it from a planter box into something closer to a living wall — a genuinely dual-purpose structure that provides growing space and visual screening simultaneously. The method is straightforward: stand the pallet vertically, close in the back face with spare planks or fence boards to create solid pockets, then staple heavy-duty landscape fabric across the back of each horizontal compartment to hold compost in place.
The planting choices here matter more than in a ground-level planter, because you are working against gravity. The best plants for vertical pallet pockets in a UK garden are:
- Strawberries — a classic choice that thrives beautifully; the trailing habit is perfectly suited to the pockets and fruit hangs clear of the wood
- Trailing lobelia — prolific flowering from June to September; available in blue, white, and pink
- Compact herbs — thyme and oregano both work well and tolerate some dryness at the top pockets where watering reaches last
- Alpines and sempervivums — virtually indestructible and look wonderful year-round
- Avoid: anything with a deep root system or heavy foliage, as the weight can pull pockets forward over time
Positioned against a fence or wall, two pallets back-to-back can create a freestanding screen — useful for dividing a seating area from a vegetable patch without the permanence or cost of a fence panel. If your garden doubles as an outdoor entertaining space, this kind of thoughtful zoning makes a real difference to how the space feels. You might also find ideas in the post on patio design ideas for thinking about how structures like this work within a wider outdoor layout.
A Pallet Potting Bench: Command Central for the Serious Gardener
A potting bench built from pallets is a weekend project rather than a Saturday morning task, but the result is one of the most useful things you can add to a working garden. The basic structure uses two or three pallets: one forming the back (upright, for tool hooks and shelves), one forming the worktop surface, and the slats from a third used for legs, bracing, and additional shelving.
The height is worth getting right from the start. A comfortable potting bench brings the work surface to roughly hip height, sparing your back during the long sowing sessions of February and March. Cut your legs to accommodate this before assembly rather than trying to adjust afterwards. Secure everything with exterior-grade screws rather than nails, which will work loose over time as the wood expands and contracts through the seasons.
The natural cubby structure of the pallet worktop is one of the project’s real advantages — those gaps between boards become perfect slots for small tools, dibbers, and canes. Add hooks to the back section for larger tools, a narrow upper shelf for seed trays and small pots, and a rail at the front edge for hanging labels or small bags. A potting bench like this becomes the organising centre of the entire garden year, the place where seeds get sown in late winter, seedlings get potted on through spring, and harvests get cleaned and sorted in autumn.
The Pallet Garden Bar
This is the project that generates the most admiring comments and, genuinely, requires less skill than it looks. The core structure is two pallets stacked horizontally to form the front face of a bar, with a third providing the top surface and back shelf. A scaffold board, a thick deck board, or a cut-down worktop offcut all work beautifully as the bar top — something with a bit of heft and character beats a thin board for both aesthetics and practicality.
The paint colour is where you make this your own. Sage green is perennially popular and looks particularly good against brick or stone. Charcoal is elegant and hides marks well. Pastel pink or dusty blue have a cottage-garden quality that works in informal spaces. Whatever you choose, use exterior masonry paint or a specialist outdoor wood paint, applied in two or three thin coats rather than one thick one.
Finish with hooks along the front for glasses or utensils, a set of solar fairy lights threaded along the top shelf, and a couple of potted plants at each end. Pair it with comfortable seating and good patio lighting for the evenings, and you have an outdoor entertaining setup that cost a fraction of a bought equivalent.
Tin Can Projects: Small-Space Charm and Instant Results
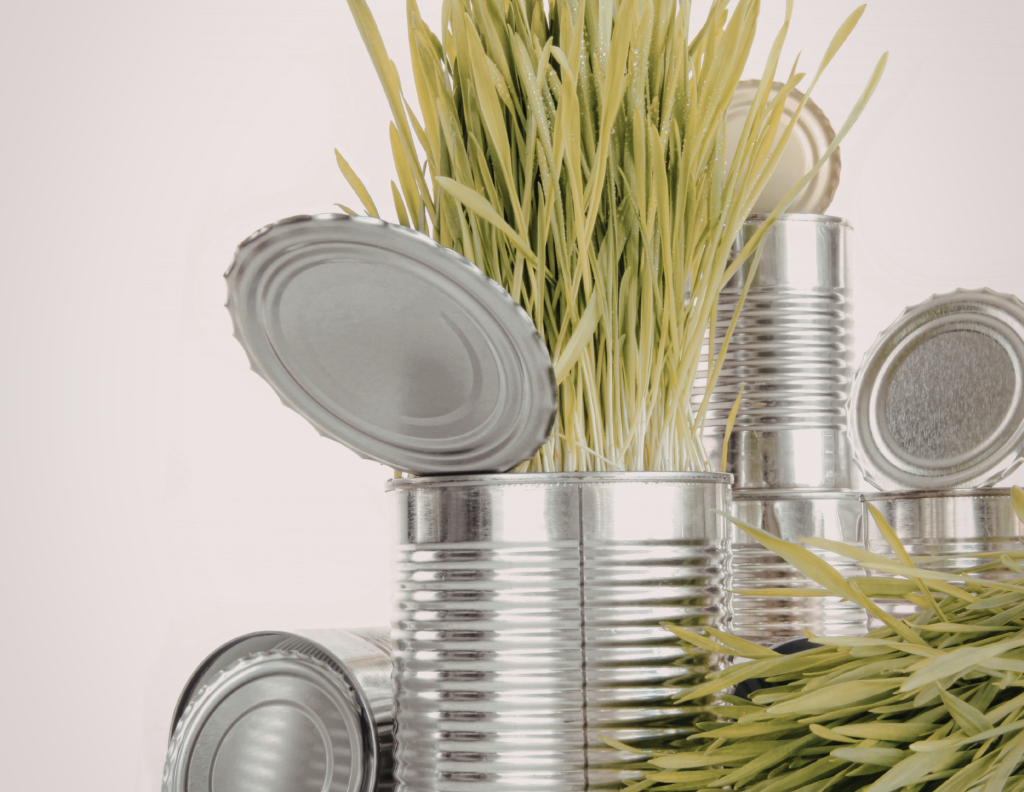
Tin cans are the most accessible of the three hero materials — everyone has them, they require the most basic tools, and the results are immediate. They are particularly well-suited to small UK gardens, balconies, and courtyard spaces where large planters would overwhelm.
Painted Herb Tins: A Beginner Classic
The method is simple enough to do with children on a rainy afternoon: punch drainage holes in the base of each clean tin using a hammer and nail (a cork underneath the base prevents the tin from collapsing inward), prime the outside with a spray or brush-on metal primer, then paint with acrylic or outdoor enamel paint in whatever colours appeal to you.
The styling possibilities are more varied than they might first appear. A coordinated set of tins all in the same colour palette looks chic on a windowsill or kitchen shelf. A colour-coded system — one colour per herb type — is surprisingly practical when all your tins look similar. Wrapping some tins in jute twine or sisal rope before painting creates texture and a distinctly craft-fair aesthetic that suits informal gardens beautifully.
Group a cluster of tins on a windowsill for an indoor herb garden — the post on herbs for kitchen window gardens covers which herbs genuinely thrive in UK windowsill conditions and which ones struggle. Alternatively, fix tins to a fence, a pallet back, or a trellis with screws through the base for a vertical herb display that takes up zero floor space.
Hanging Tin Lantern-Planters
This is one of those projects where the end result looks far more sophisticated than the process warrants. Drill two small holes at the rim of each tin for chain or sturdy wire, then use a hammer and nail to punch a pattern of holes around the sides — a random scattering, a simple geometric pattern, or initials if you are feeling ambitious. The result is a container that works as a planter by day and, with a tealight inside (battery-operated for safety near foliage), glows through the punched pattern at night.
The combination of light and planting is genuinely magical strung along a fence or pergola on a summer evening, the small pools of light overlapping with the shadows of whatever is planted inside — succulents, compact herbs, or trailing ivy. It is the kind of detail that costs almost nothing but transforms the atmosphere of an outdoor space entirely. String several along a pergola alongside proper fairy lights for the kind of layered illumination that makes evenings outside feel genuinely special.
Old Furniture: Potting Benches and Garden Bars with Character
Old furniture brings something to the garden that new materials simply cannot replicate: the quality of wood in a well-made cabinet, the satisfying proportions of a proper sideboard, the visible history of wear and use. The challenge is choosing the right pieces and adapting them intelligently for outdoor conditions.
A Cabinet or Dresser Turned Potting Bench
An old kitchen cabinet, a small dresser, or a solid sideboard can all become a potting bench with relatively modest intervention. The key is selecting pieces made from solid wood rather than MDF, which will swell and delaminate in damp conditions even with generous paint protection. Charity shops and car boots in the UK tend to have a reliable supply of solid-wood cabinet furniture at low prices — the pieces that are too battered for indoor use are often exactly right for outdoor repurposing.
The process involves taking the piece outside, replacing or reinforcing the top surface with something more durable (thick plywood with exterior treatment, galvanised metal sheet, or pallet boards all work well), then sealing the entire exterior with exterior-grade paint or varnish. Pay particular attention to the bottom edges and any joints, as these are where water tends to pool and begin its damage.
The original cabinet storage becomes genuinely useful: shelves hold seed trays, pots, and bags of compost; drawers (if they have been replaced with more robust runners) hold small tools and packets of seeds; hooks added to the sides accommodate larger tools. Add labelled baskets or crates inside the cupboards for organisation, and this piece becomes a far more elegant and capacious potting station than anything purpose-built would provide at the same cost. For those who are new to thinking about how a garden workspace fits into the wider planting scheme, the guide to starting a vegetable garden is worth reading alongside this project.
A Table or Console as a Compact Potting Station
Many UK gardens — particularly in terraced housing, where outdoor space is precious — are too small for a full-sized potting bench. An old patio table, a narrow console table, or even a solid kitchen table can be repurposed into a compact potting station that tucks neatly beside a back door or against a shed wall.
The adaptation is minimal: add a shelf underneath using a plank and a couple of brackets, fit a narrow backboard (a piece of fence board works perfectly) for hanging hooks and small shelves, and the basic structure is complete. The advantage of a table base over a pallet construction is that it is immediately at working height, typically lighter, and easier to move around as the garden changes with the seasons. Seal everything with exterior paint, replace any flimsy legs with something sturdier if needed, and you have a potting station that will last years.
A Sideboard or TV Unit as a Garden Bar
This is arguably the most transformative project in the whole collection — the one where a piece of furniture that was heading for the tip becomes the social centrepiece of a garden. Sideboards translate particularly well into garden bars because their proportions are almost perfectly suited to the purpose: deep enough for a useful back shelf, the right height for a standing bar top, and with enclosed storage below for the kind of items you need protected from the weather — cushions, blankets, extension leads.
Select a piece with a solid carcass and ideally solid or thick-ply doors rather than thin veneer, which will lift and bubble outdoors regardless of how well it is painted. Remove any fragile drawer mechanisms and replace them with simple shelves or baskets. Reinforce the top surface with a layer of exterior-grade waterproof material if the existing surface is veneer or laminate — a piece of oak worktop offcut or a sheet of galvanised metal creates something genuinely beautiful and durable.
A bold exterior colour — forest green, deep navy, or chalky white — makes the piece look intentional rather than repurposed. Add a peg rail above for hanging bar tools or bunting, fix some hooks along the front for glasses, and consider a chalkboard panel on the back for writing the evening’s menu or a cocktail list for gatherings. Combine with comfortable seating, your pallet garden bar if space allows, and a good set of plants in pots to soften the edges, and this becomes the outdoor entertaining setup that neighbours will genuinely stop to ask about.
Practical Project Reference: Materials, Skills, and Planting Ideas
The table below summarises all the projects covered in this guide, providing a quick reference for planning your own upcycling programme.
| Project | Main Material | Skill Level | Best Planted With |
|---|---|---|---|
| Raised herb planter box | Pallet wood | Beginner | Mint, parsley, chives, thyme |
| Vertical privacy planter | Pallet | Intermediate | Strawberries, trailing lobelia, alpines |
| Compact potting bench | Pallet | Intermediate | Functional workspace, not planted |
| Garden bar | Pallet | Intermediate | Pot plants at ends; climbers behind |
| Painted herb tins | Tin cans | Beginner | All compact herbs, succulents |
| Hanging lantern-planters | Tin cans | Beginner | Succulents, trailing ivy, compact herbs |
| Cabinet potting bench | Old cabinet | Intermediate | Functional workspace |
| Sideboard garden bar | Old sideboard | Intermediate | Statement pots; trained climbers above |
Drainage, Compost, and the Details That Make Plants Thrive
A recurring theme across all the planter projects in this guide is drainage, and it is worth giving it proper attention rather than an afterthought mention. UK rainfall — ample, persistent, and often arriving when plants are already well-watered — means that any container without adequate drainage will waterlog and kill roots, regardless of how beautiful the planter itself is.
Every planter, however small, needs holes in its base. The minimum is several 10mm holes for small containers, scaling up proportionally for larger ones. Below the compost, a layer of coarse gravel, broken crocks, or horticultural grit of about 3–4cm depth creates a drainage reservoir that prevents waterlogging during heavy rain while still providing moisture access during dry spells. For quick reference, here is what each project needs:
- Tin can planters: 3–5 holes punched in the base with a hammer and nail; one layer of grit before compost
- Pallet planter boxes: 10–12 x 10mm holes drilled in the base; polythene liner with holes cut to match; 3cm gravel layer
- Vertical pallet planters: drainage holes in each fabric pocket; water the top pockets slowly so moisture reaches lower levels
- Furniture-based planters: drill through the base before treating the wood; seal the drill holes’ edges with waterproof wood glue to prevent rot entry
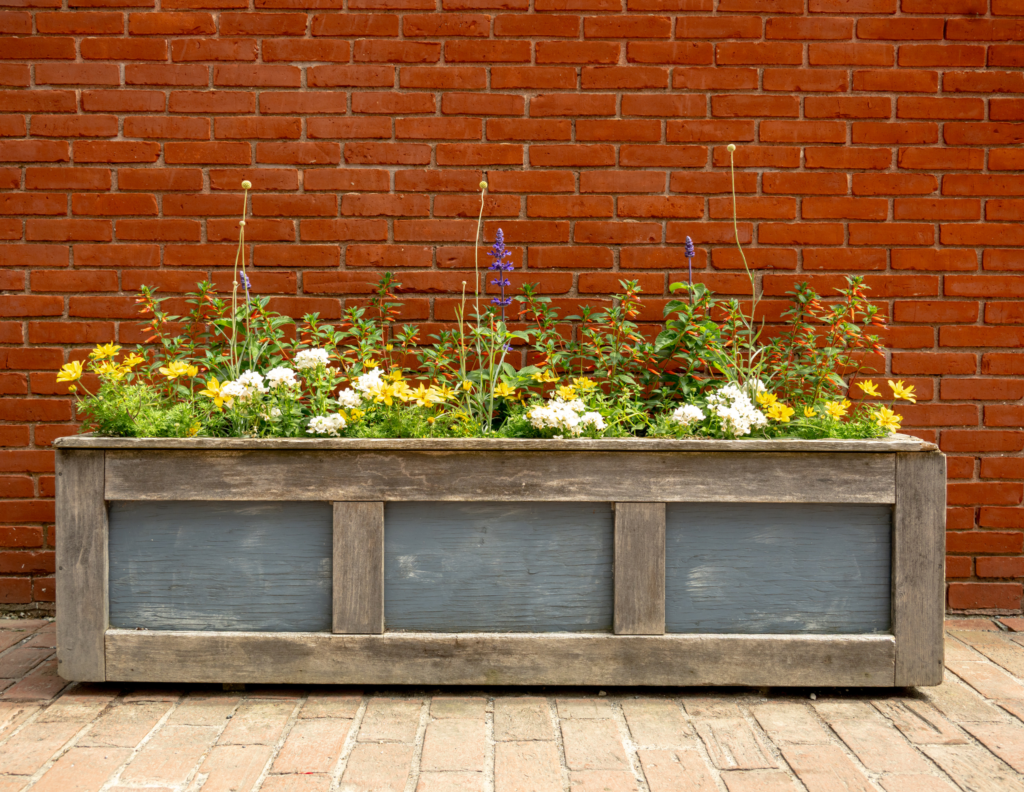
This matters particularly for wood and tin planters — both materials conduct moisture directly to roots, making drainage more critical than it would be in a plastic pot.
For compost choice, a peat-free multipurpose compost suits most of the planting suggestions in this guide. If you are growing herbs in your tin can planters or pallet box, mixing in approximately a third volume of horticultural grit creates a free-draining growing medium that most Mediterranean herbs — thyme, oregano, rosemary — much prefer to standard multipurpose. For fruit such as strawberries in your vertical pallet planter, a specialist fruit compost or a multipurpose mix enriched with a slow-release fertiliser will support the heavier feeding demands of cropping plants.
If you are interested in making your own compost to fill your upcycled planters, the guide to starting a composting system walks through the entire process — a particularly satisfying pairing with a upcycling project, since it means your garden is producing its own growing medium rather than relying entirely on bought-in materials.
Bringing It All Together: Styling Your Upcycled Garden Space
Individual upcycled projects are satisfying in themselves, but they become genuinely extraordinary when they work together as a coherent space. The gardens that photograph beautifully and feel genuinely inviting tend to have a quality of intentionality — not perfection, but a sense that the elements have been chosen to complement each other rather than assembled at random.
Colour is one of the most powerful unifying tools available, and one that costs almost nothing to apply when you are painting pieces yourself. Choose two or three exterior paint colours that work together — perhaps a deep sage green for larger pieces, a chalky off-white for smaller accents, and natural wood tone for anything that benefits from a more rustic look — and carry them through across your projects. A garden bar, potting bench, and collection of tin planters all in a coordinated palette look curated and intentional rather than cobbled together.
Height and layering are the other key ingredients. A vertical pallet planter at the back, a medium-height potting bench in the middle ground, and low tin can planters at the front creates the kind of layered planting structure that garden designers charge considerable fees to achieve. Ground-level container planting in and around your upcycled pieces adds softness — look at the post on container gardening for UK-specific guidance on choosing the right containers and compost for different situations.
Finally, don’t underestimate the connective tissue of a well-planted garden: the climbers trained up a trellis behind the garden bar, the self-seeded annuals weaving between painted tins, the strawberries cascading from the vertical pallet planter. Upcycled structures and living plants have a natural affinity, each softening and enhancing the other in ways that neither quite achieves alone.
Your Upcycled Garden: Where to Start
The most important first step is simply to start. Pick one project — ideally the easiest one that will deliver immediate visible impact in your space — complete it properly, and let the satisfaction of that carry you into the next. For most people, that first project is either the painted tin herb planters (a single afternoon, almost no tools required, immediately useful) or a simple pallet planter box (a Saturday morning, basic tools, and you have raised planting space by lunchtime).
From there, a potting bench — whether pallet-built or furniture-converted — is the project that tends to change how the whole garden functions. Having a dedicated, organised workspace for sowing and potting transforms the experience of gardening at the level of daily habit, not just aesthetics.
The garden bar is the project you build when you are ready to celebrate what you have created. It is the piece that says, this garden is a place to live, not just to tend. And there is no better material to build it from than something rescued, repurposed, and made entirely your own.
Continue Your Garden Upcycling Journey
Container Gardening — Everything you need to know about growing successfully in pots, planters, and containers of all kinds, including the upcycled ones you have just made.
Patio Design Ideas — Inspiration for designing an outdoor space that works beautifully as a whole, with your new upcycled pieces as the centrepiece.
Best Patio Plants in Pots — The best plants for UK patio containers, from statement specimens to trailing fillers that soften the edges of a new garden bar.
Herbs for Kitchen Window Gardens — If your tin can herb planters have given you the herb gardening bug, this is the natural next step.
Start a Composting System — Make your own compost to fill your new upcycled planters and close the loop on a genuinely low-waste garden.
Which upcycled project are you most tempted to try first — the pallet planter, a set of painted tins, or jumping straight to the garden bar? Share in the comments, and feel free to share any photos of your own finished projects.
If you found this guide useful, subscribing to the Crafting Her Blooms newsletter means you will never miss a new post — plus seasonal planting reminders and project ideas delivered straight to your inbox.


